Installation guide
Installing the wraps
Follow the steps below to install your custom board wrap.
We provide everything you will need apart from some tape so that the install process should be nice and easy.
Top Tips:
- Take your time, I know we are always desperate to hit the slopes but take your time and do it properly.
- The cleaner the board the better the install, make sure all dirt and grime is cleaned off your board.
- Make sure there is no wrap overhanging at the end, snow has an impressive talent of getting places it shouldn't as all snowboarders know. Use the sharp knife to make sure there is no place the snow can work its way under the wrap.
Step 1
Plan the install
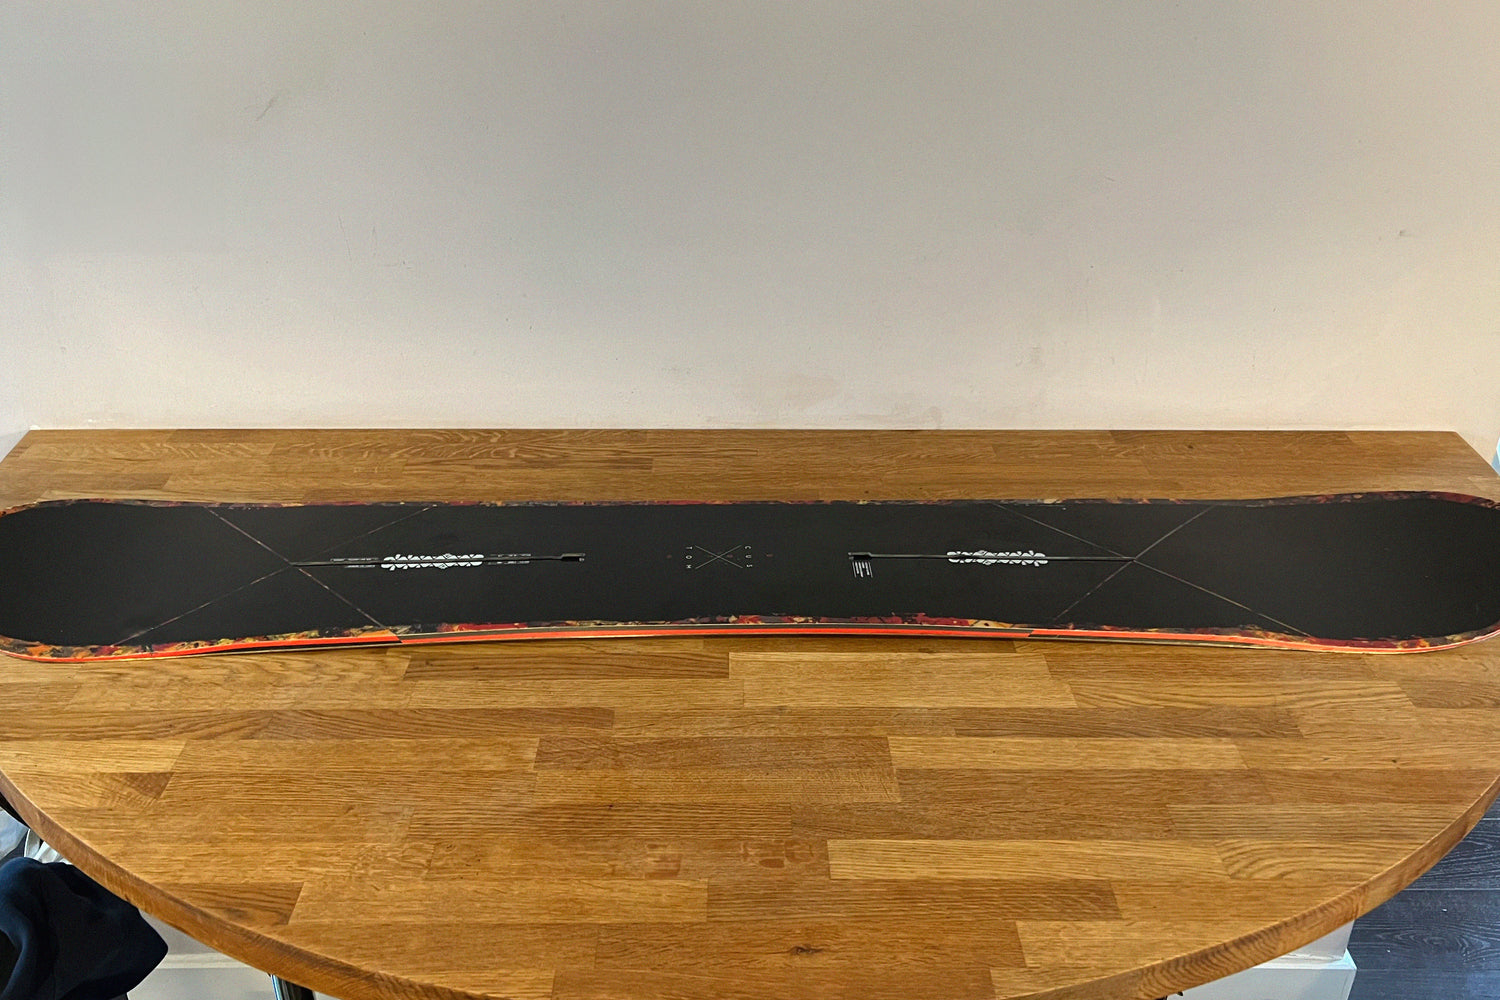
Ensure you have a clean working area with plenty of space around.
Lay out your board onto the clean area and then get the Vinyl Topa out of its packaging tube.
Lay it onto a flat clean surface to let it get up to room temperature (ideally around 20 deg C or 68 deg F) and to let it relax after being in the packaging.
STEP 2
Clean the board
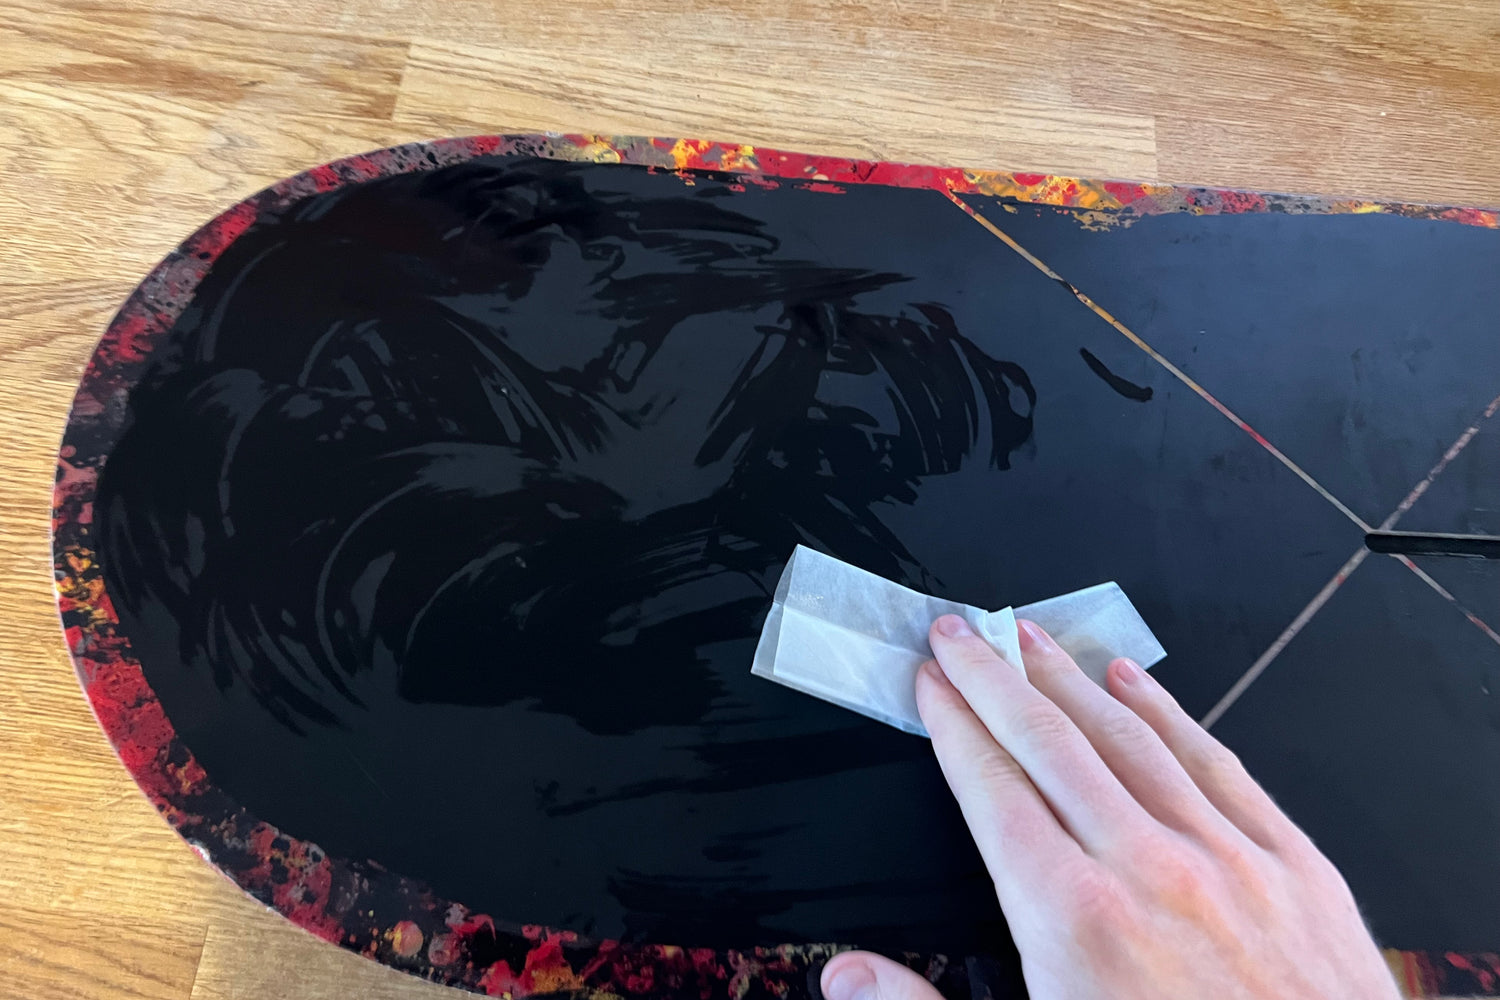
Now that you are ready to install make sure the surface you are going to apply the wrap to is clean.
We recommend using the Isopropyl wipes we include in the installation kit for this as they will not leave any residue behind.
The cleaner the board the better the wrap will look!
STEP 3
Tape the center
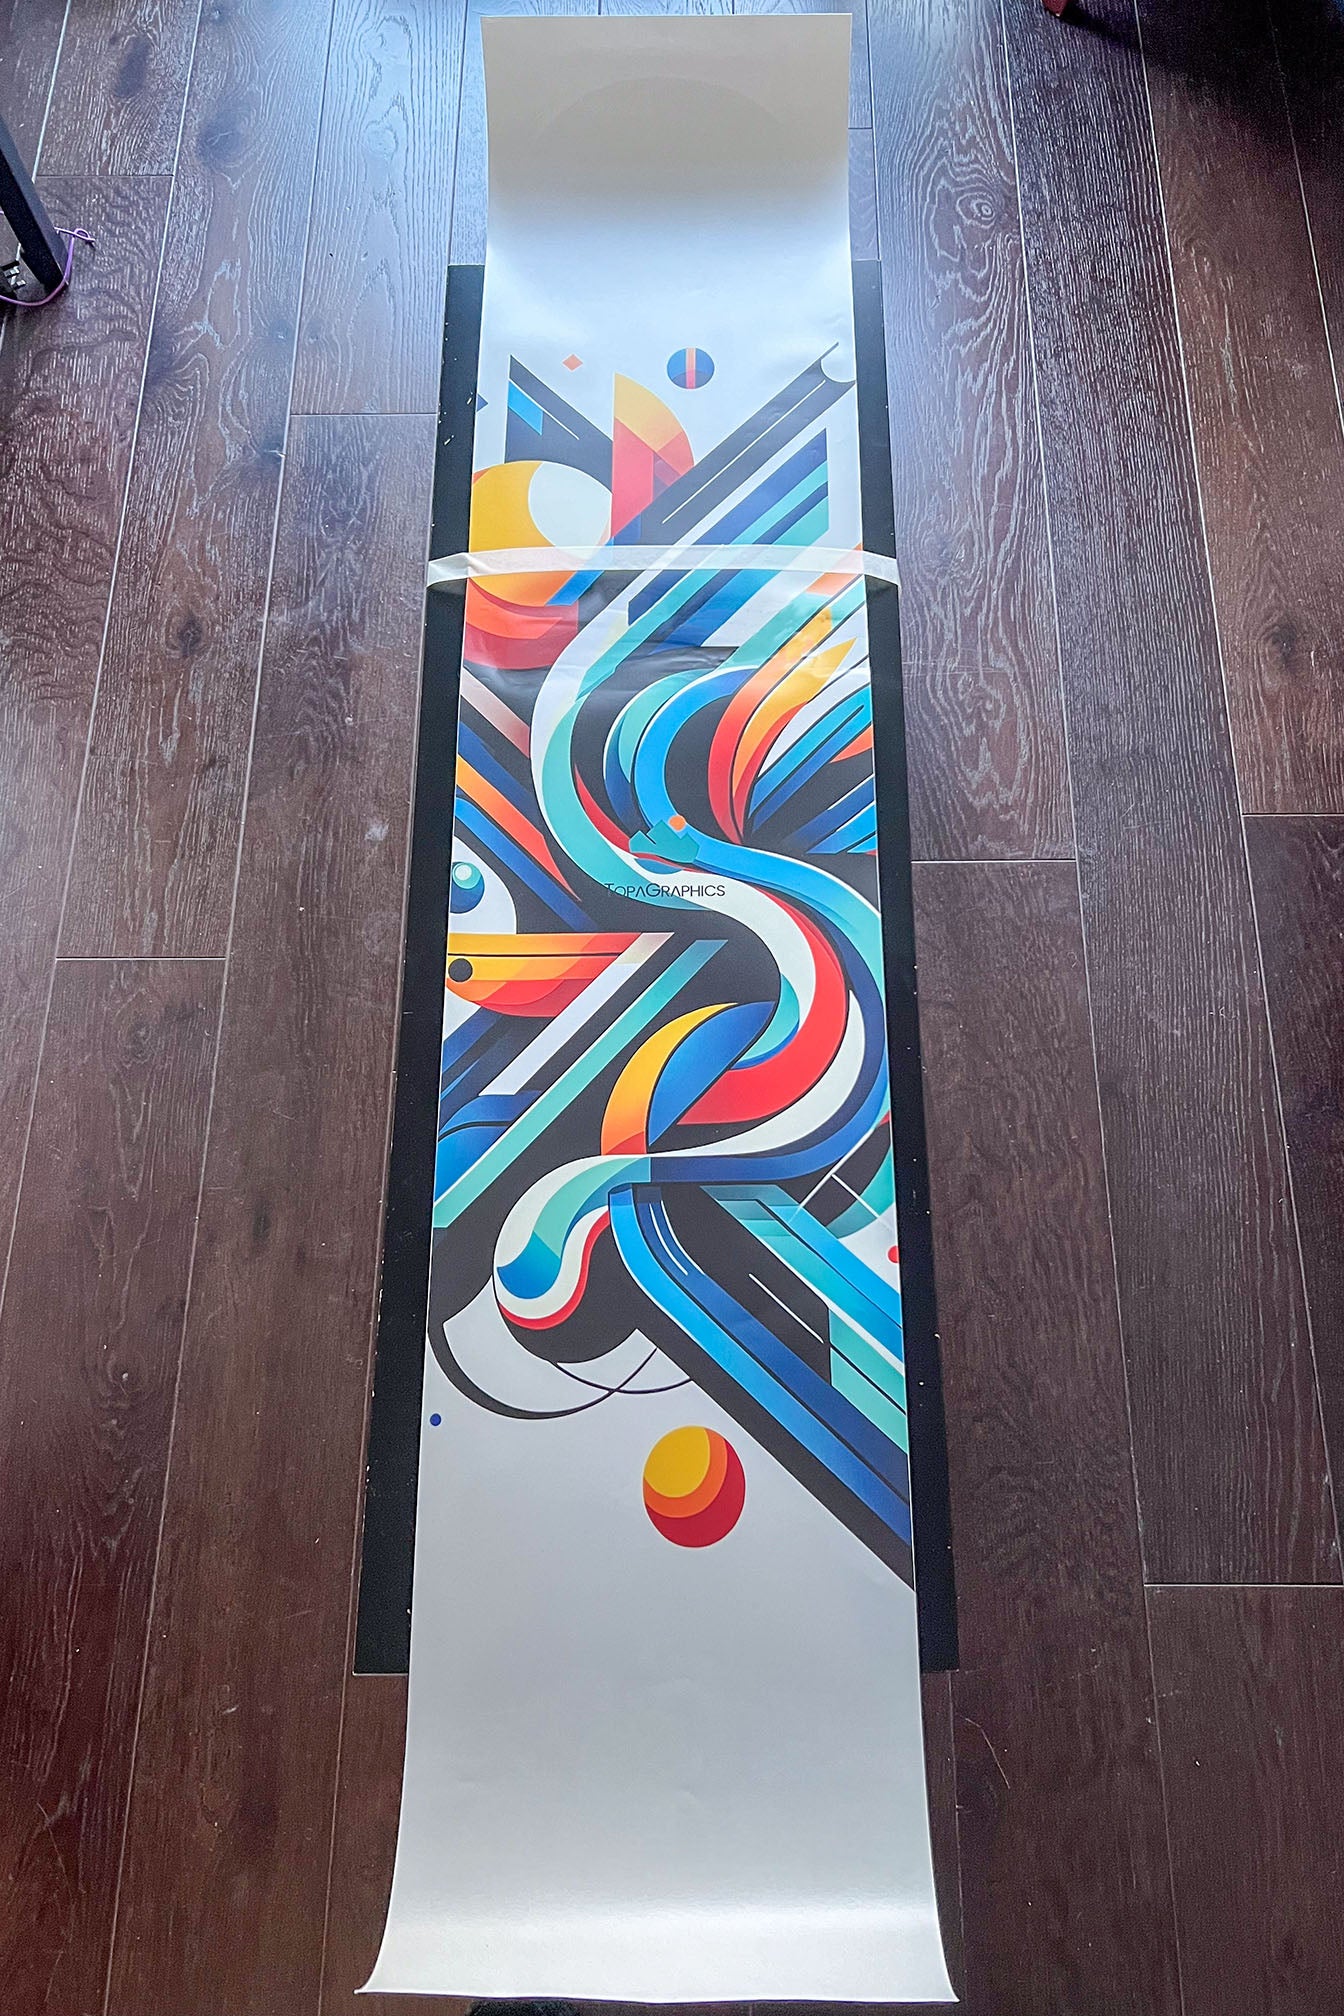
Keeping the backing on the vinyl lay out the Vinyl Topa on the board aligning the graphics how you want them to be fitted.
Once you are happy with the positioning get some tape and being careful not to use tape that could leave residue on the graphic area tape the sides of the vinyl to the surface you are working on across where the bindings will sit.
This tape will act as a hinge during installation and make the install more manageable.

Step 4
Peal the short end of the backing
With the vinyl taped across the binding and secured gently fold back the short end of the vinyl.
You can now remove the small end of the backing material taking great care not to let the vinyl stick to itself.
Using a sharp knife cut off the backing you have removed.
STEP 5
Apply from centre
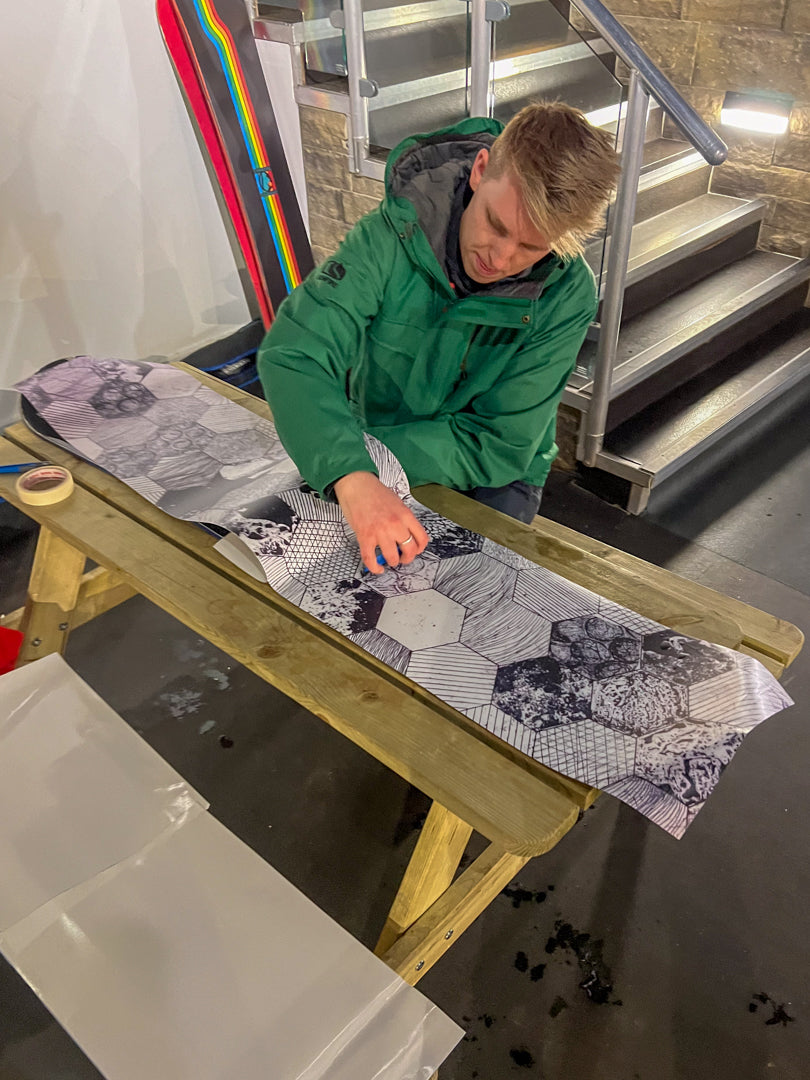
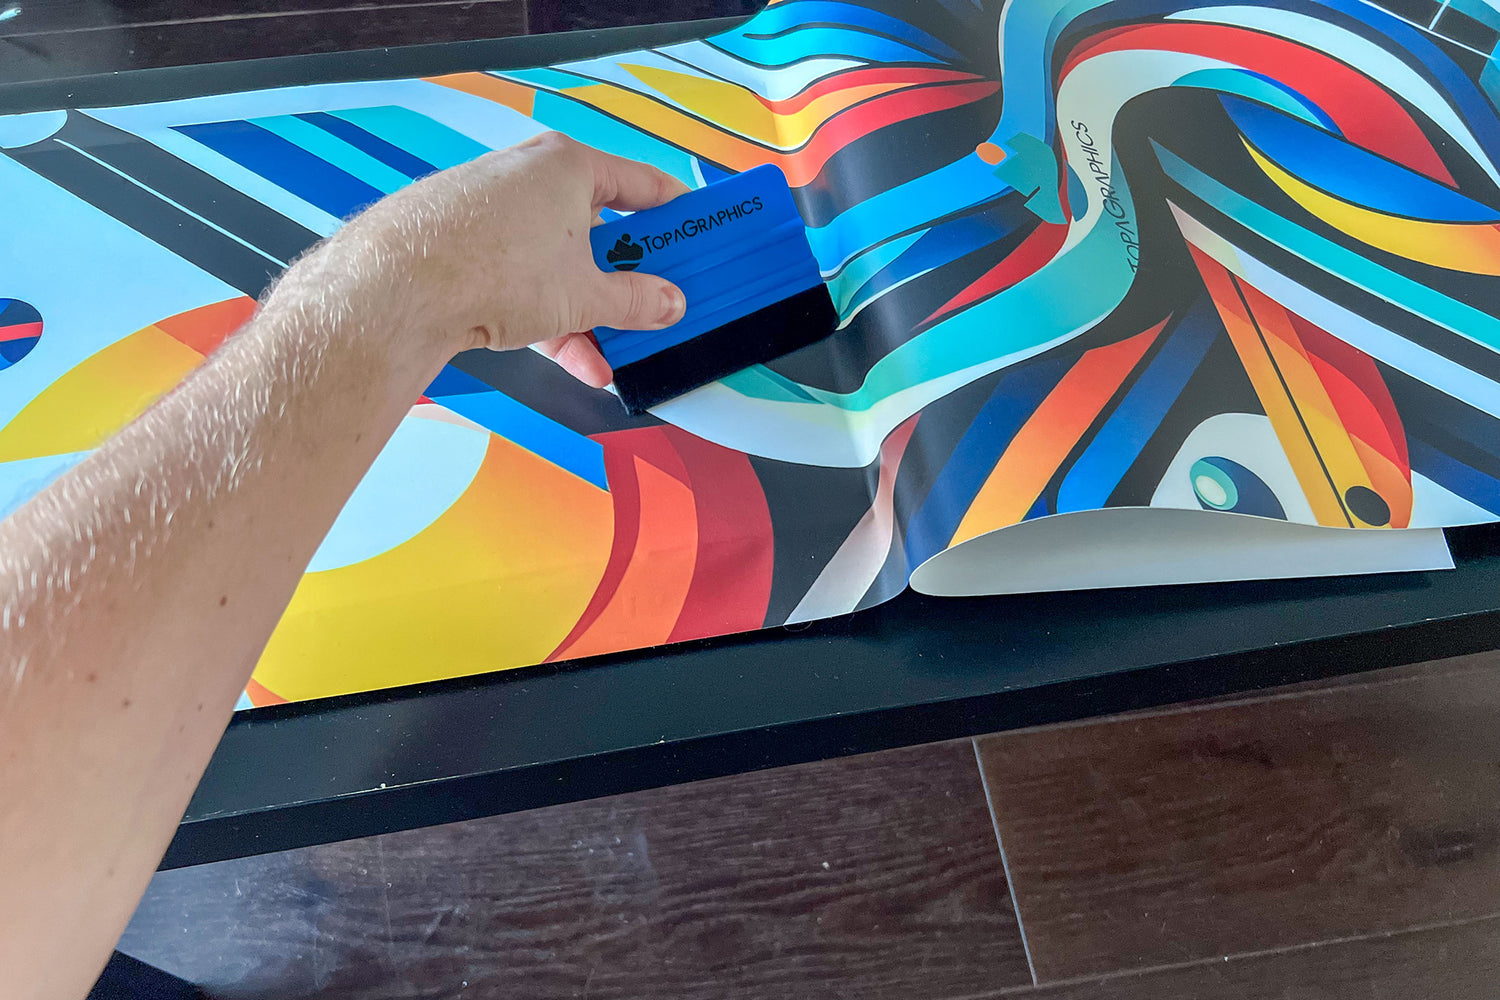
You can now start to apply the vinyl to the board starting at the small end.
Starting in the middle gently work the vinyl towards the tip pushing any air bubble out to the sides.
Take your time with this and take care to try and eliminate all the air from under the vinyl by using the squeegee from the installation kit to push it towards the edges.
It can be useful to have an extra pair of hands holding the vinyl while you work the squeegee.
STEP 6
Apply other half
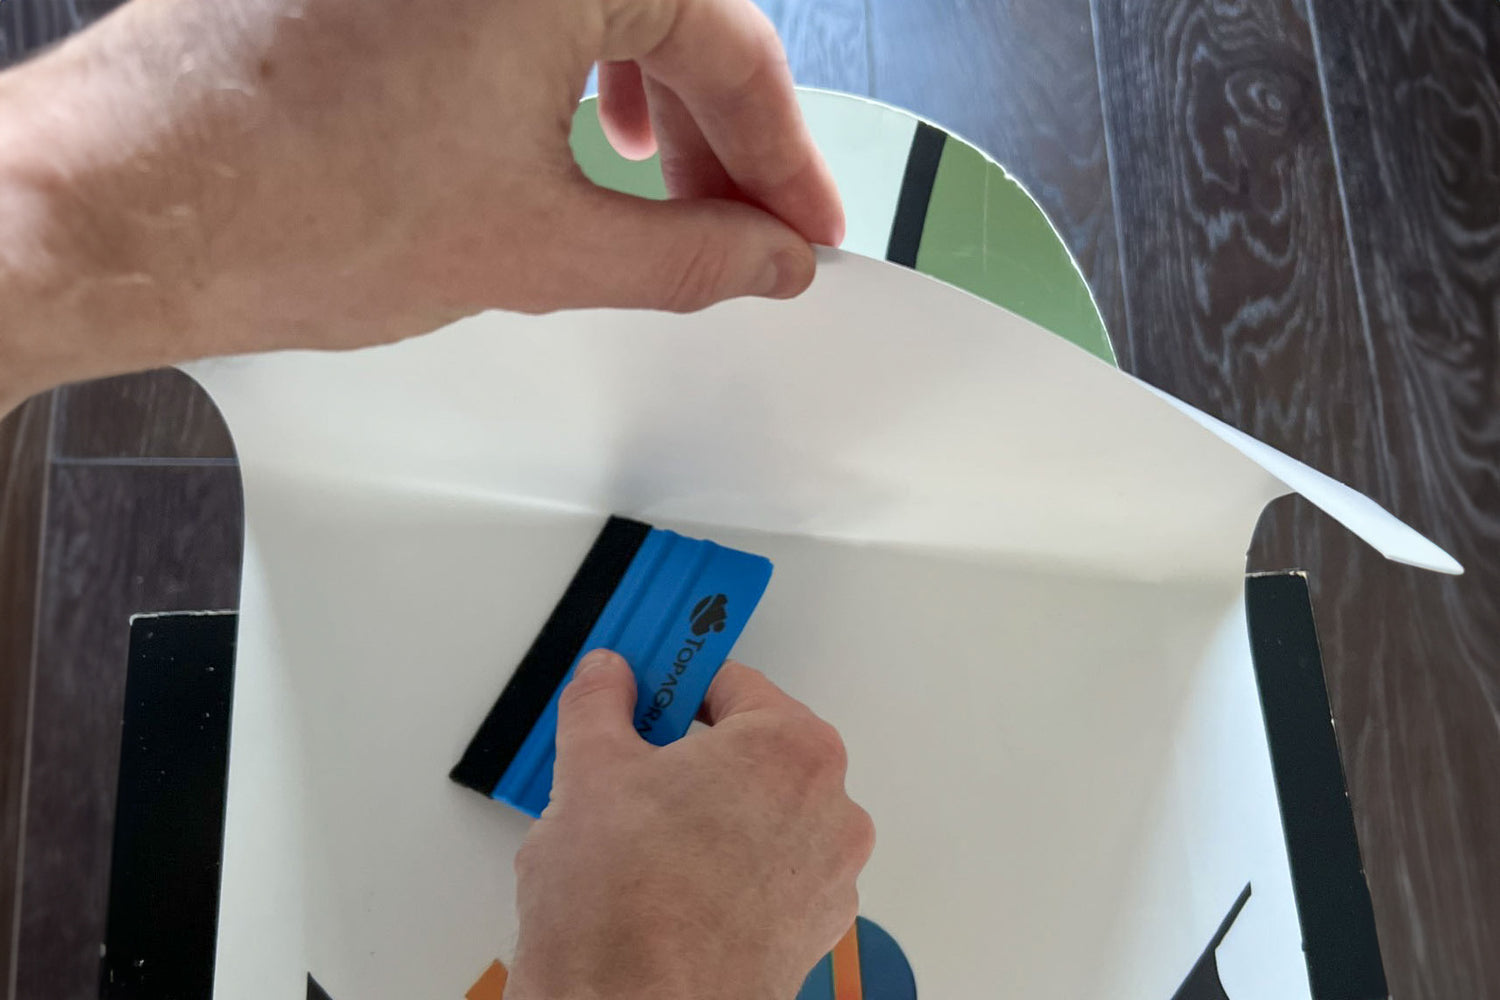
With the smaller end of the wrap installed you can now carefully remove the tape and begin to install the longer end.
Gradually peal the backing off the vinyl by pulling it back under itself as seen in the image. then slowly pealing the backing off use the squeegee to work on the vinyl, pushing the air to the sides.

STEP 7
Check for bubbles
You should now have the vinyl in place. Give it one last check over to make sure there are no air bubbles under the vinyl.
If there are bubbles you can use the squeegee to push them to the edges. If there are large bubbles under the vinyl use a sharp pin to puncture the bubble and then use your finger to work the air out. Only do this if it is absolutely necessary.

STEP 8
Flatten off the edges
Use the non felt side of the squeegee to rub against the edge of the board firmly to flatten out any sharp edges and make sure the vinyl is fully adhered.
STEP 9
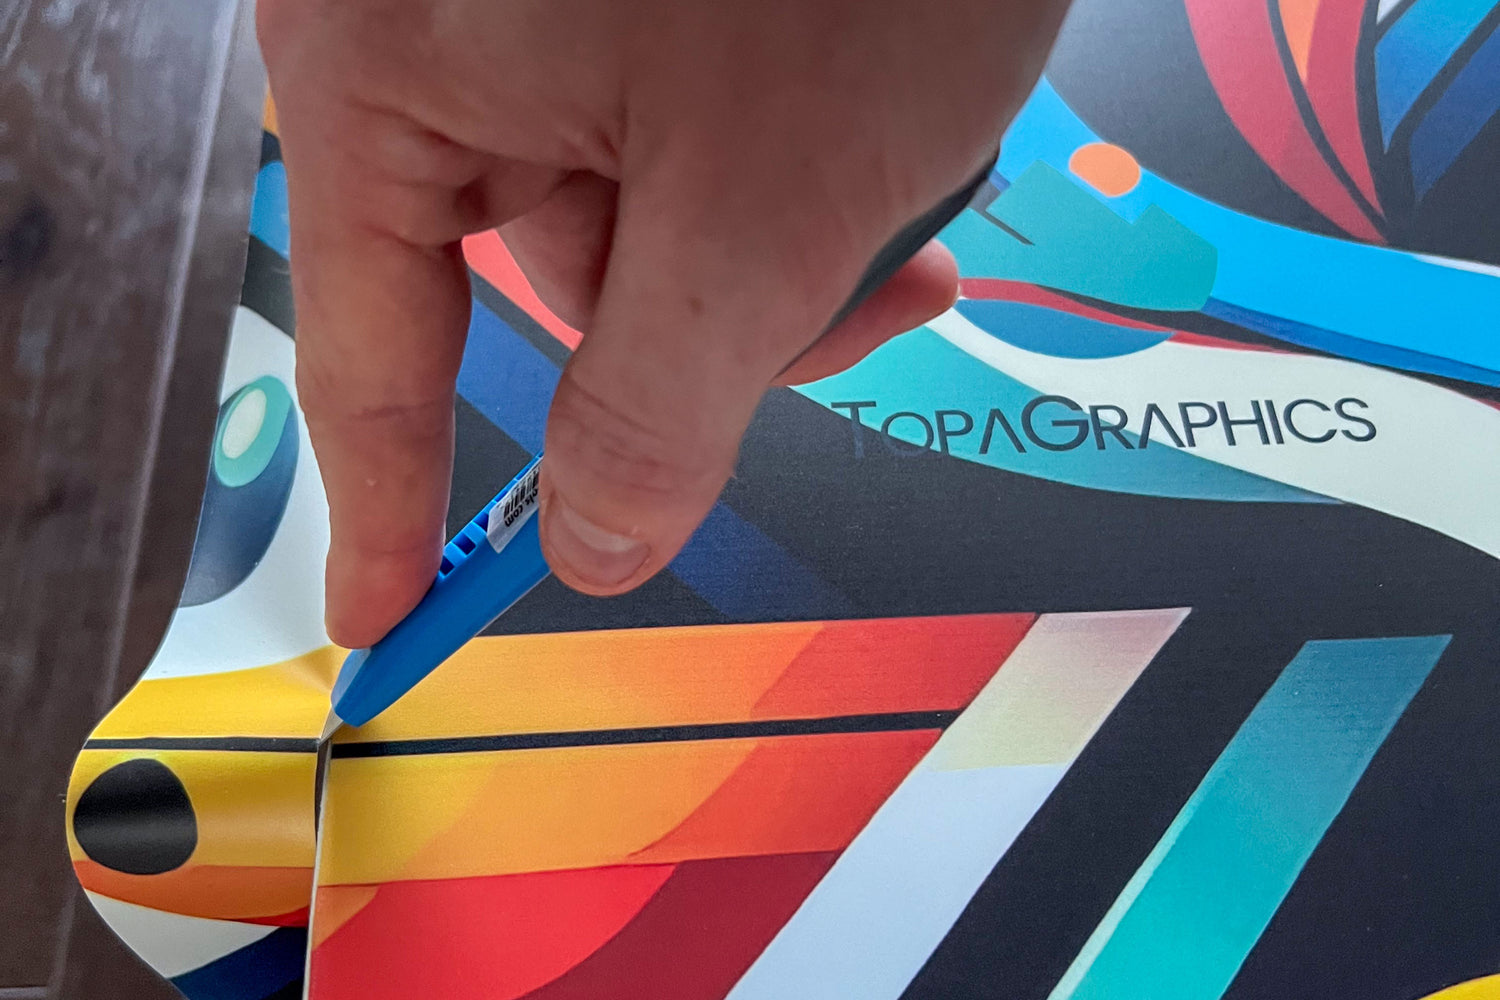
Cut excess material
Using a very sharp knife use the edge of the board or ski to cut off the excess material.
We have found it is best to cut the material on a 45 degree angle as it leaves less of an overhang of material to get caught when in use
Trace around the whole board or ski.
TIP: Make a note of if the board is directional and cut in the opposite direction to that. This means if the knife gets caught it will not create a weak point to peal up.
STEP 10
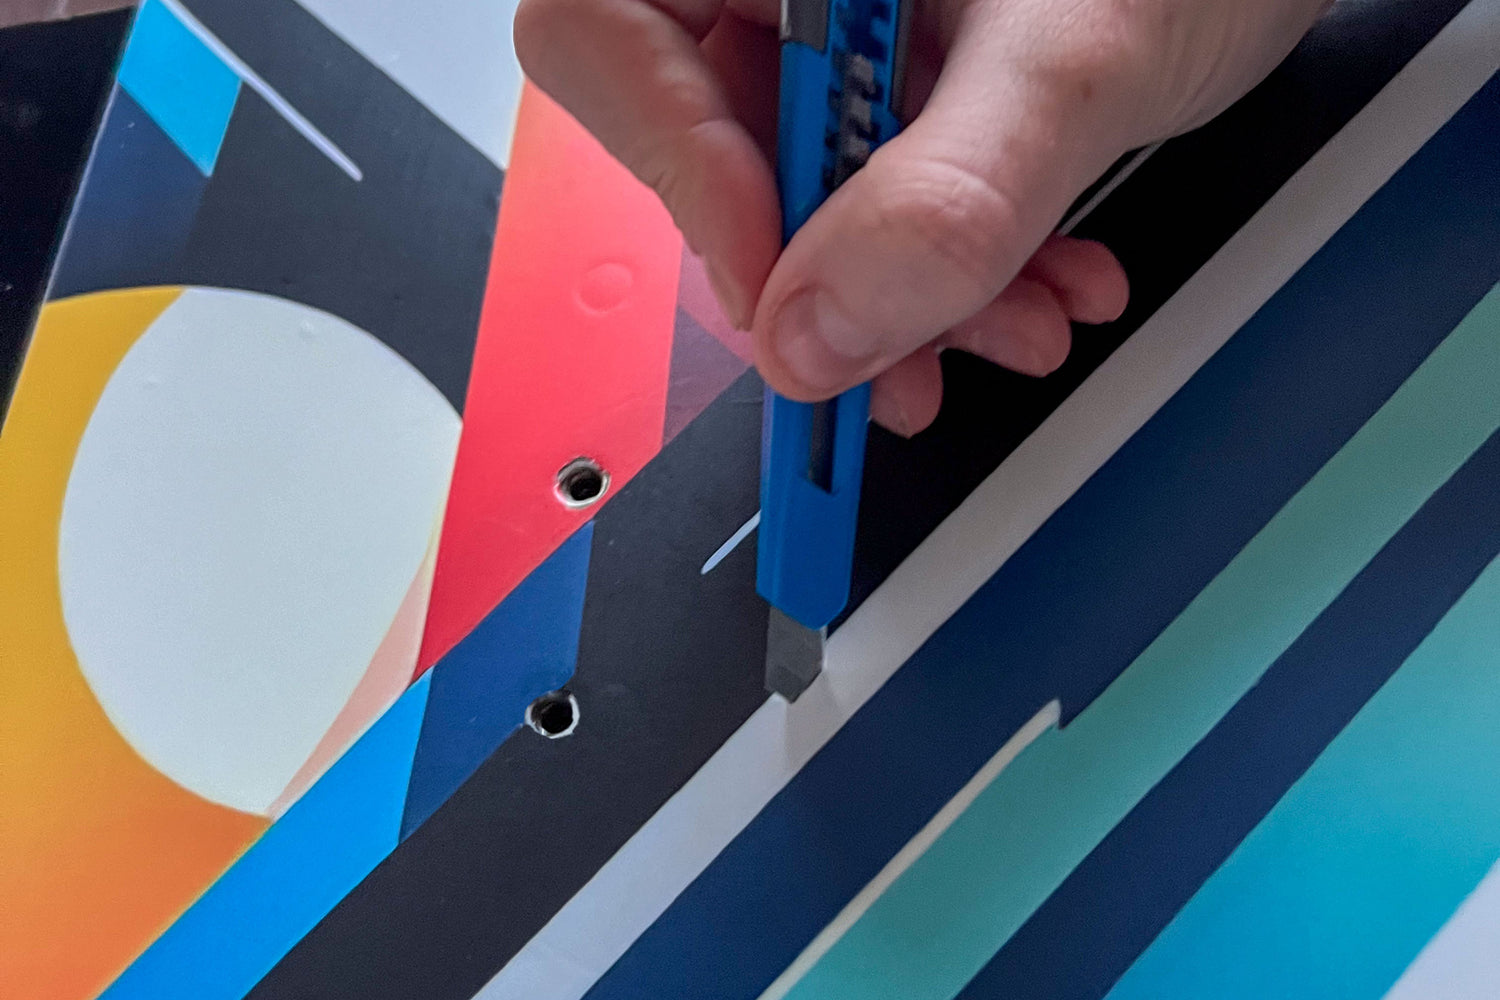
Clear binding holes
Use the sharp knife to cut around the holes for the bindings. You can either do all of the holes or just the holes you use for your setup.
Ensure you remove the material you have cut out of the holes to stop it from interfering with the threads.
You now have your vinyl topa installed. Enjoy!
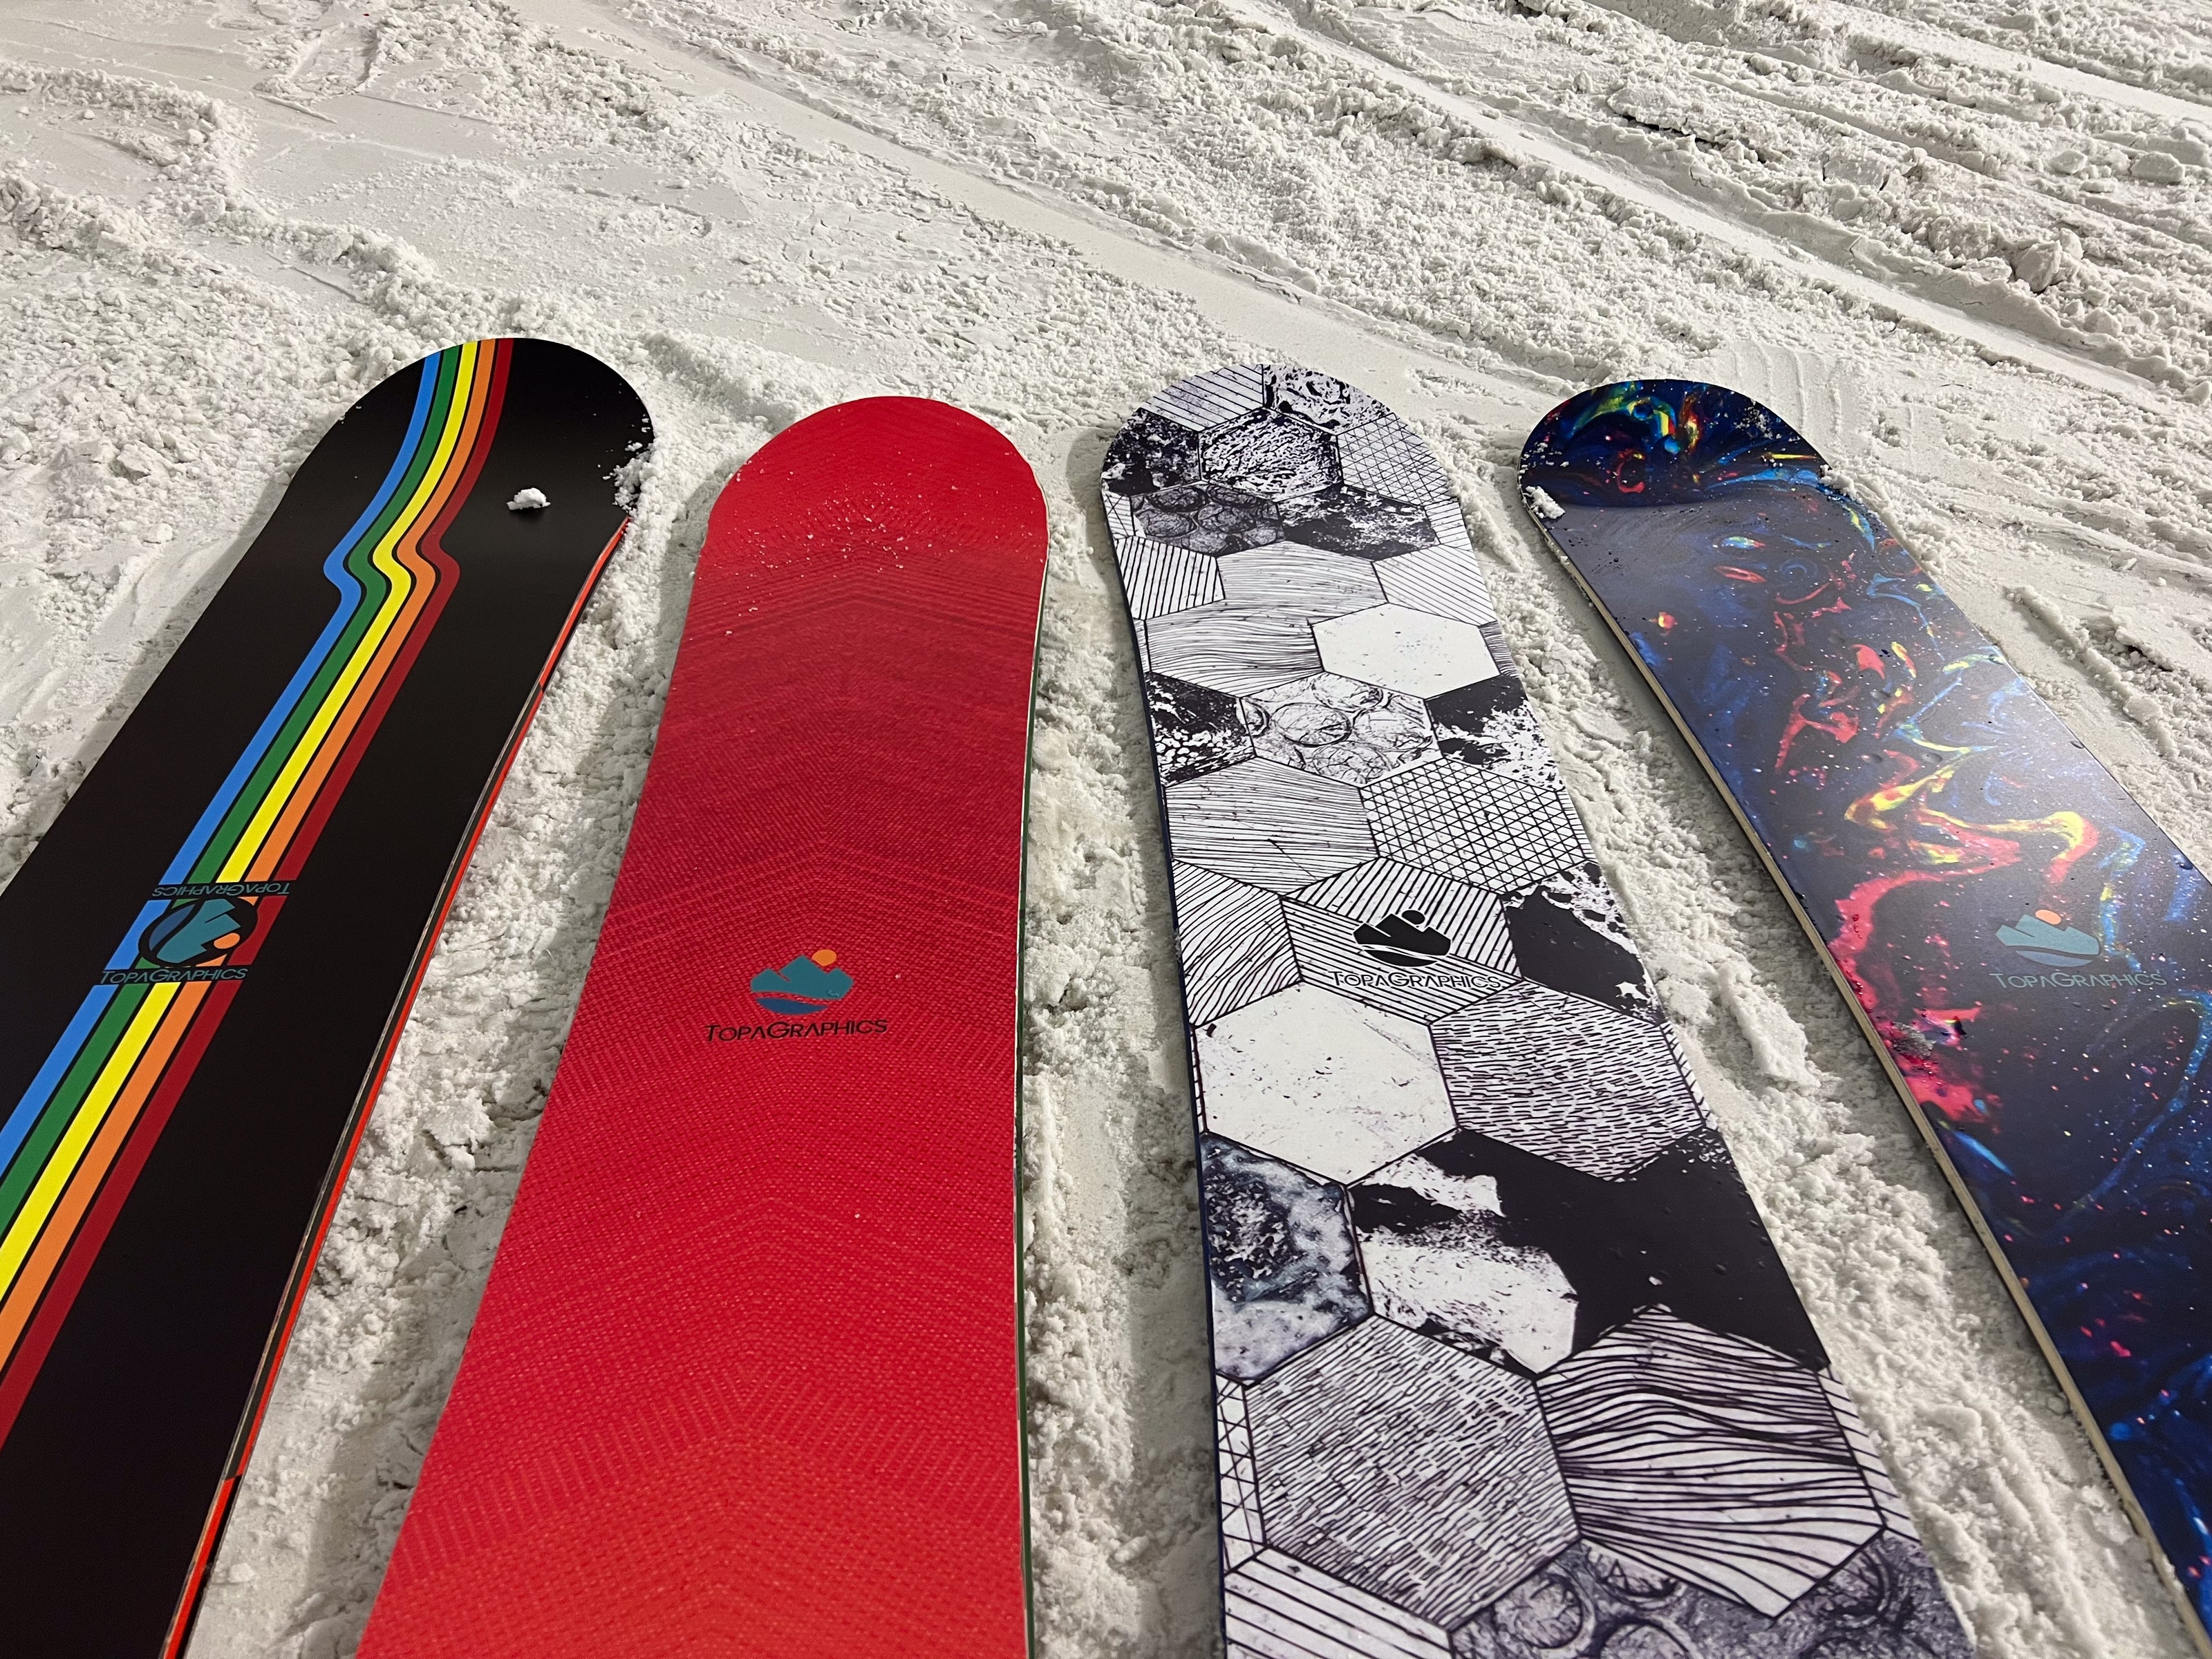
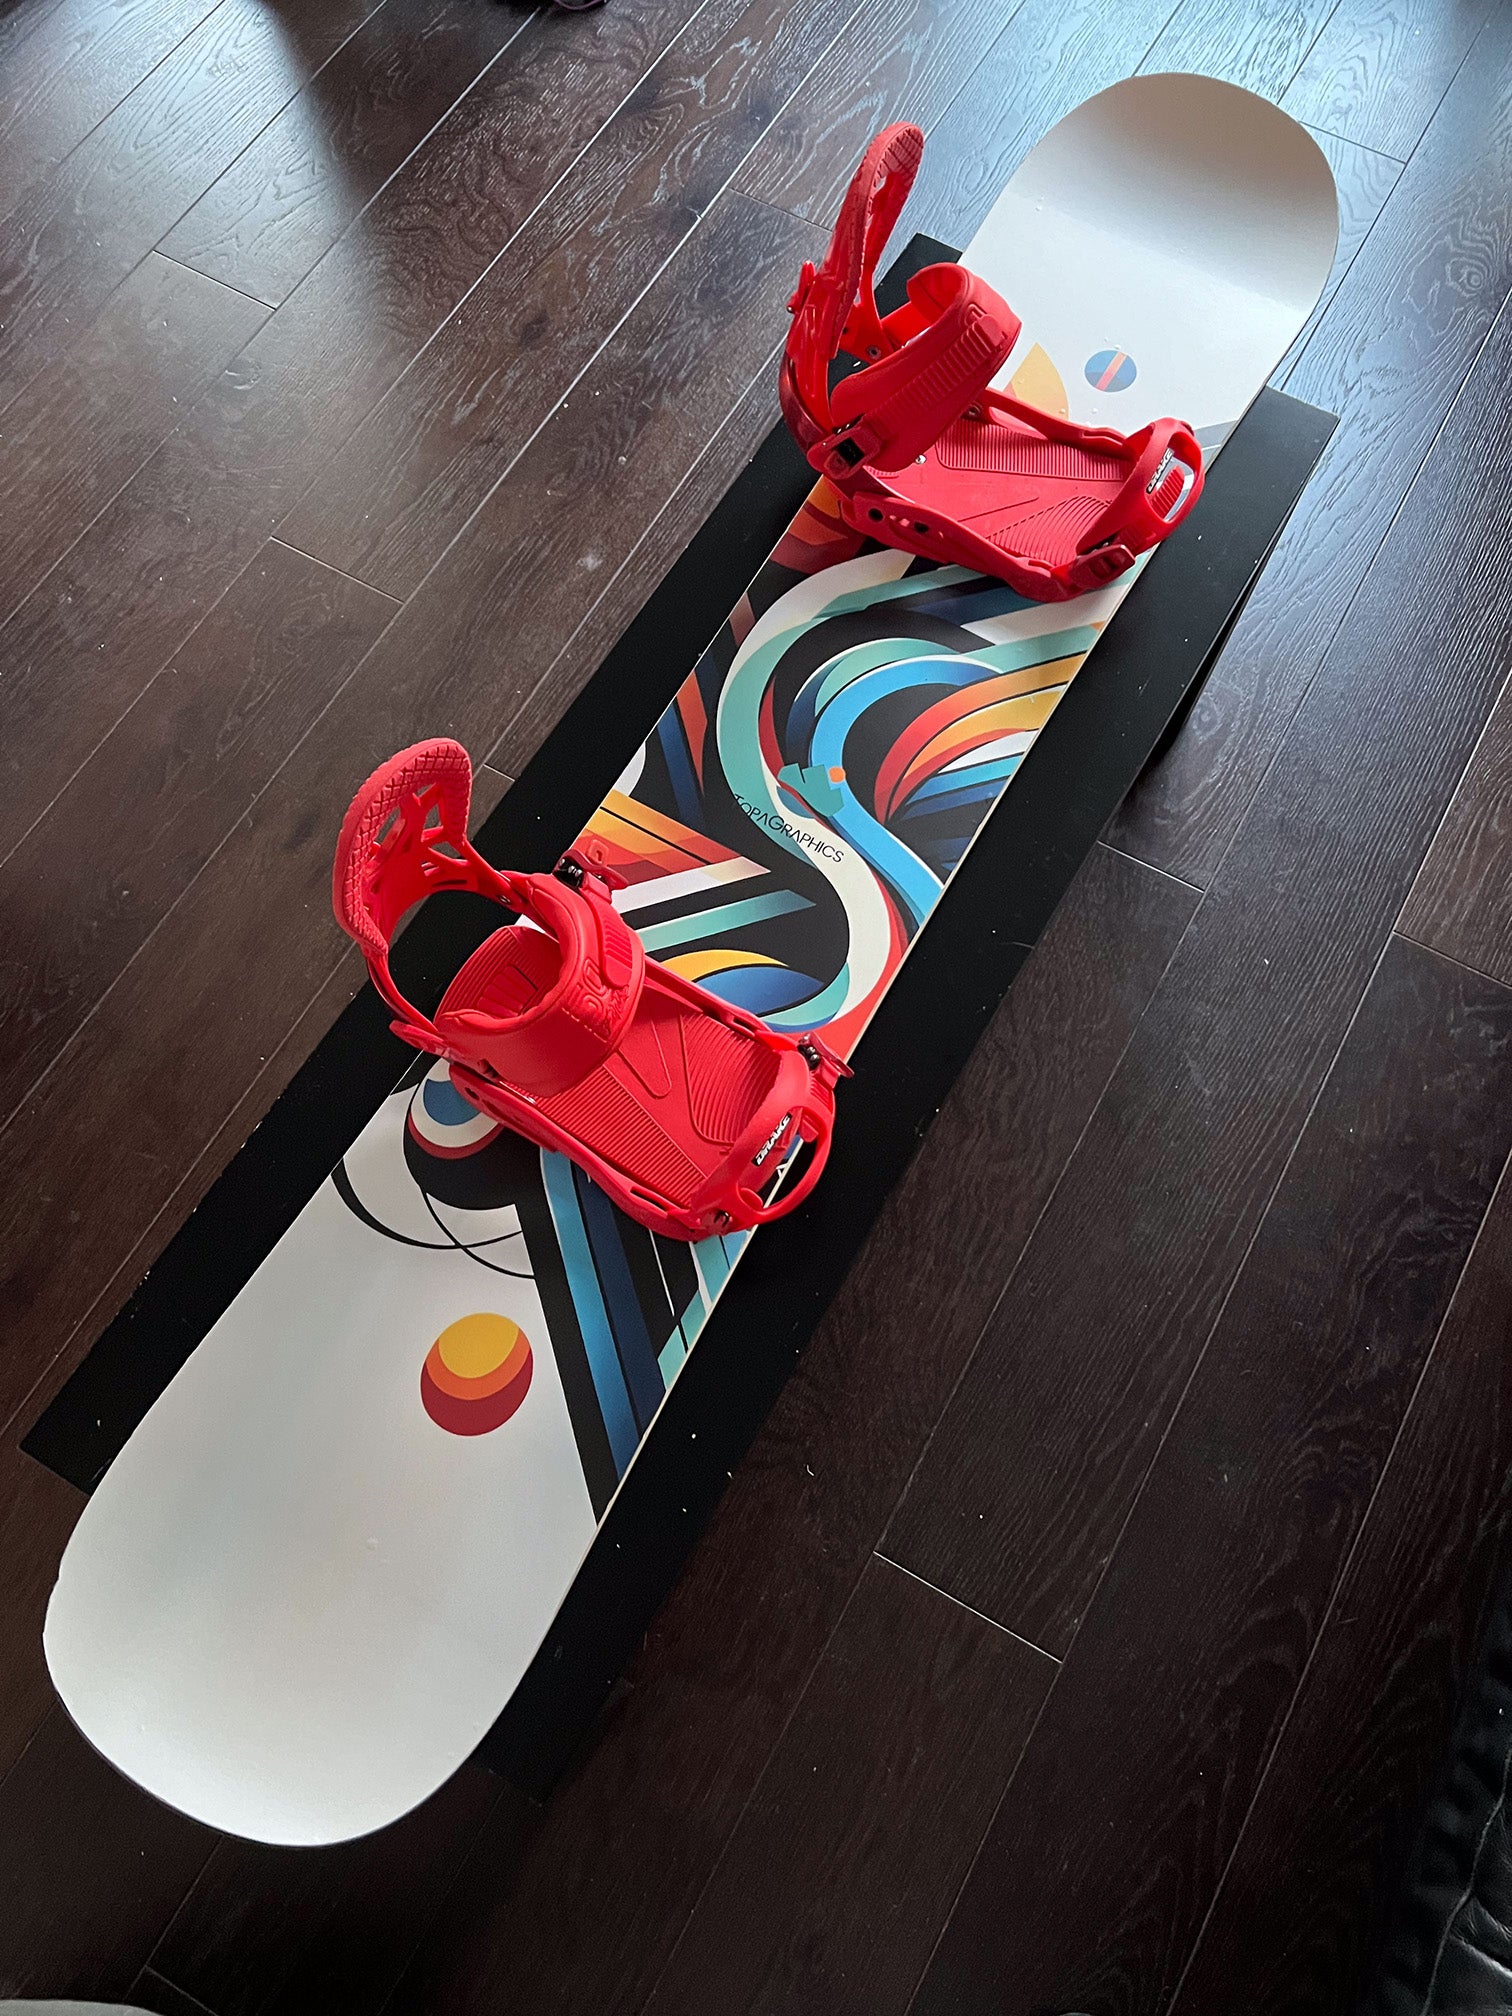
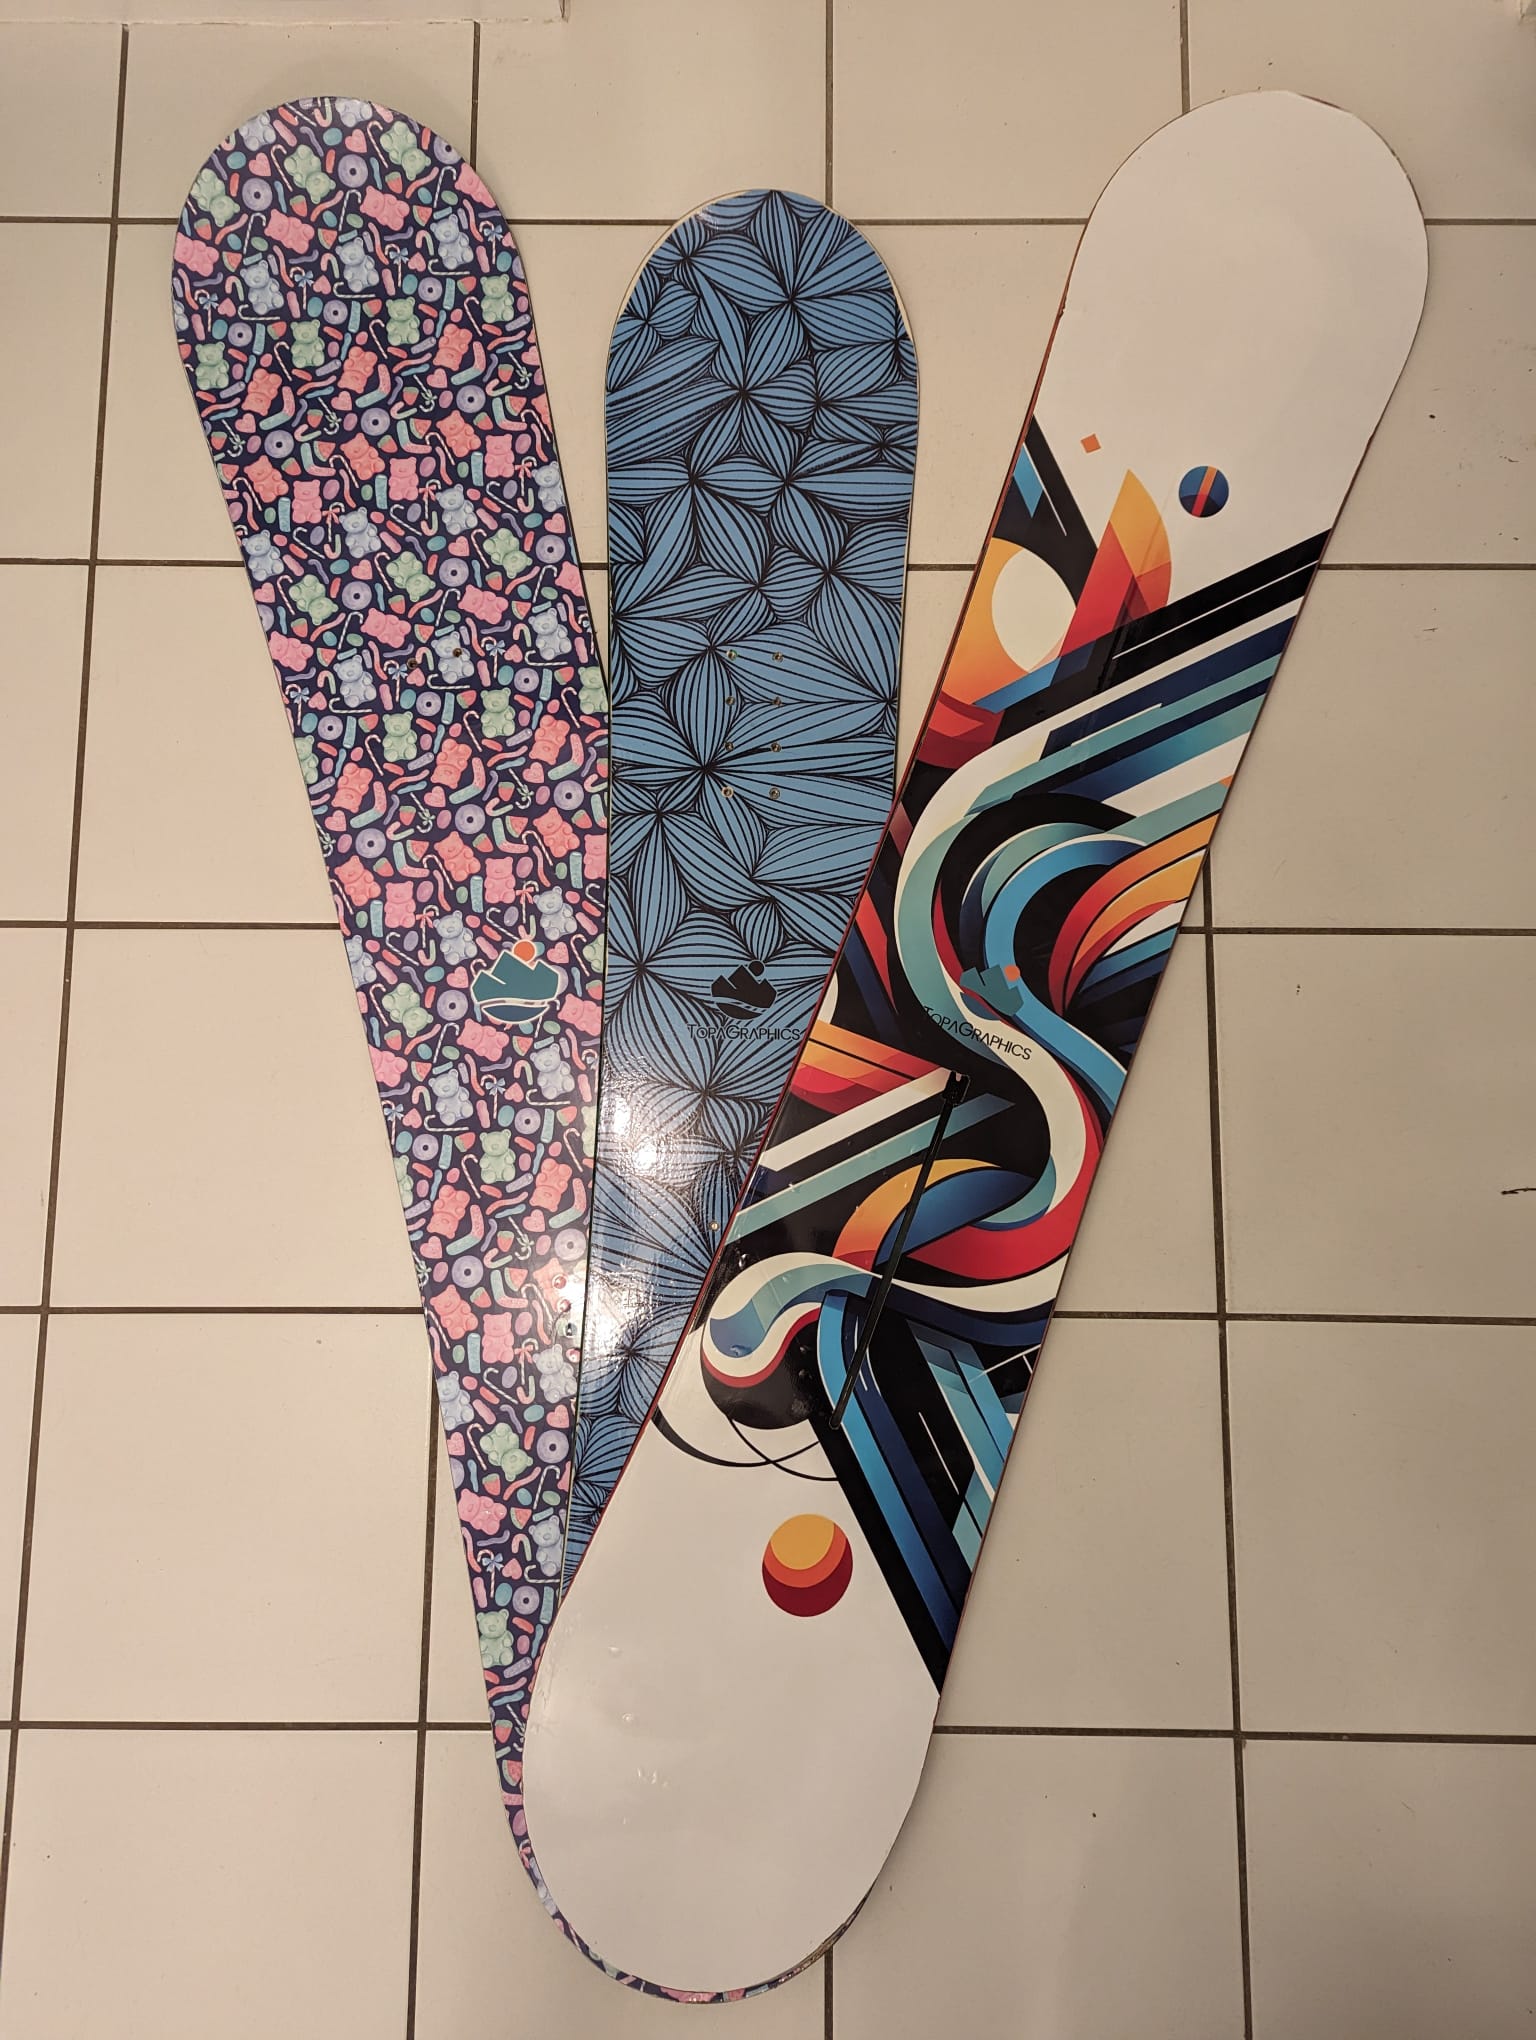
Example boards